Episode 003 - Showing Windows the door

If you missed my last post where I go through the tipping point for taking the plunge into Linux, you can find it here.
Do you remember that feeling when you were a child and you had to pick only one sweet from the shop? We’ll that’s what it was like picking the operating system that I would be using to replace Windows, this was both exciting and terrifying.
So many options, and I didn’t know where to start. I didn’t want to pick the wrong one and lose everything. I definitely didn’t want to replace Windows with something that I didn’t enjoy , couldn’t get to grips with and customise to my needs.
I knew I didn’t want it to affect my working Windows 10 installation, I also wanted to be able to easily and quickly test an operating system.
There are several ways of doing this;
- LiveCD / LiveUSB
- Virtual Machine
The LiveCD/LiveUSB requires you to have a 4GB+ USB stick laying about, which I did. This method requires burning an ISO image to disk and booting into the operating system, this loads into RAM and does not affect your Windows installation, If you were to have several USB sticks about and put a different OS on each, this way you could have a different operating system after every reboot.
To do this its only a couple of steps.
- Download ISO file
- Download Etcher
- Plug USB stick in
- Open Etcher, select ISO in Etcher
- Click Burn
- Reboot machine
- Smash F2 , Del , F12 or whatever your BIOS / UEFI menu key is until you get to the BIOS/UEFI to change boot order. If your machine has a one time boot option select that. ( there are to many machines out there to tell you exactly how to do it. The best thing would be if you’re on a laptop or pre-built to search for ‘one time boot menu [ insert laptop/desktop make here Dell/HP/Toshiba etc] . If you built your own, then you should know this key, if not search ‘one time boot [ motherboard manufacture name Asus/MSI/Gigabyte etc ] )
- Select USB for boot device from boot menu.
- Press F10 to save changes and reboot.
That’s about it, it should boot from the USB, you can now experience 90%-95% of what the OS has to offer. If you have enough ram you can install applications and have it work as if it was installed bar one thing. Drivers, specifically graphics drivers. AMD drivers are build in and should work out the box. These may not offer the best FPS if you decide to install steam and play a game. (You can do this with some success if you can mount your Windows drive and add that to the steam library within Linux. Although not advised because or Windows and NTFS).
Nvidia drivers on the other hand, they can be installed but require a reboot to work. With a LiveCD/USB it wont stay installed as this environment is non-persistent, meaning its the same system at every reboot; so any installation or theme changes disappear as soon as you power down the machine. No fear though- Nvidia cards mostly work with the reverse engineered Nouveau drivers for Nvidia cards, but don’t expect to game on these drivers.
If you want a walk through tutorial you can find hundreds online, if you want one from me, leave a comment below and i will get one done.
In my case, I only had one USB stick to hand so I went with Virtual Machines as my playground. I had a quad core, eight thread CPU with 16GB of RAM so could easily dedicate resource to each VM.
There are plenty of Youtube videos out there on how to set up a virtual machine either using VirtualBox or VMWare (I used VirtualBox). I may get round to doing a tutorial myself to replace this section with but for now a quick search on Youtube for set up virtual machine Virtualbox should net you some good videos. I basically set each Virtual machine with 4 out of my 8 threads and 8 out of my 16GB RAM then a 10GB disk for each virtual machine. This way I could turn on a VM while still having some resources for Windows for troubleshooting / web browsing. I had about 10 machines created with the ISOs attached. I could start one, have a play, shut it down and be in another within seconds.
I spent a lot of time downloading ISO’s and spinning up Virtual machines. At this point i didn’t really understand what a desktop environment was, I just knew that the servers we used at work in the command line used “yum install” to install something and my Raspberry Pi used “apt install” or “apt-get install”.
I started with all the Ubuntu Flavours, I downloaded all of them and tried them all out. The only one that was close to where I felt comfortable, was Ubuntu Budgie. It was close but no cigar.
During this phase, I started listening to podcasts, and found one called Late Night Linux. There were about 30 episodes so I started from the beginning, there was a guy on there called Ikey, who was running his own distro he made and maintained called Solus, so I gave that a try also. Ikey isn’t active in the Solus project any more as far as I can tell but the work they are doing there is great. Just not my cup of tea.
Along came Linux Mint, this seemed very popular while looking around for gaming on Linux. So gave this a whirl, and you will notice, a lot of distributions come in several flavours or desktop environments. After trying the Ubuntu flavours which offer the popular desktop environments (GNOME,KDE,XFCE, LXDE/LXQT,Budgie,MATE) which i wasn’t keen on. I tried Linux Mint Cinnamon which was the first on the downloads page, and instantly felt like I was on a fresh Windows 7 with some Windows 10 install bit it was different, in a good way.
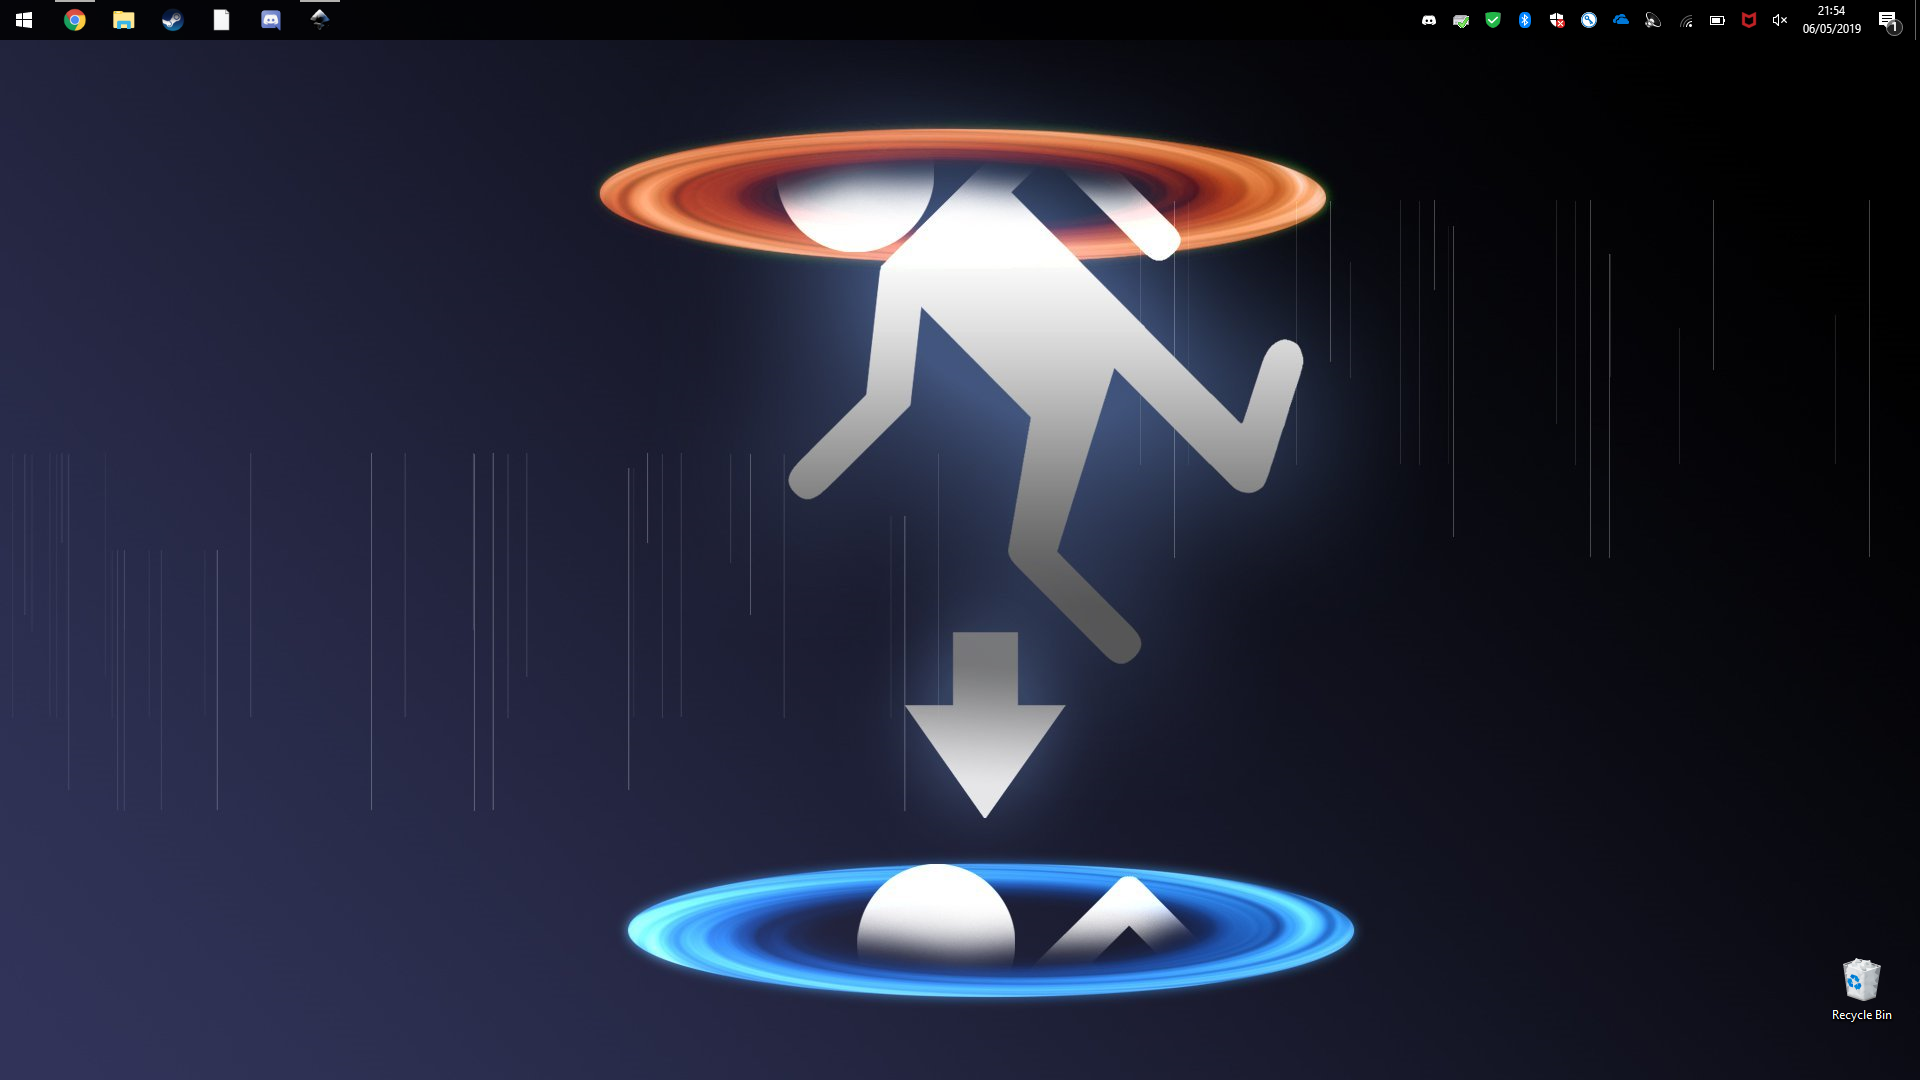
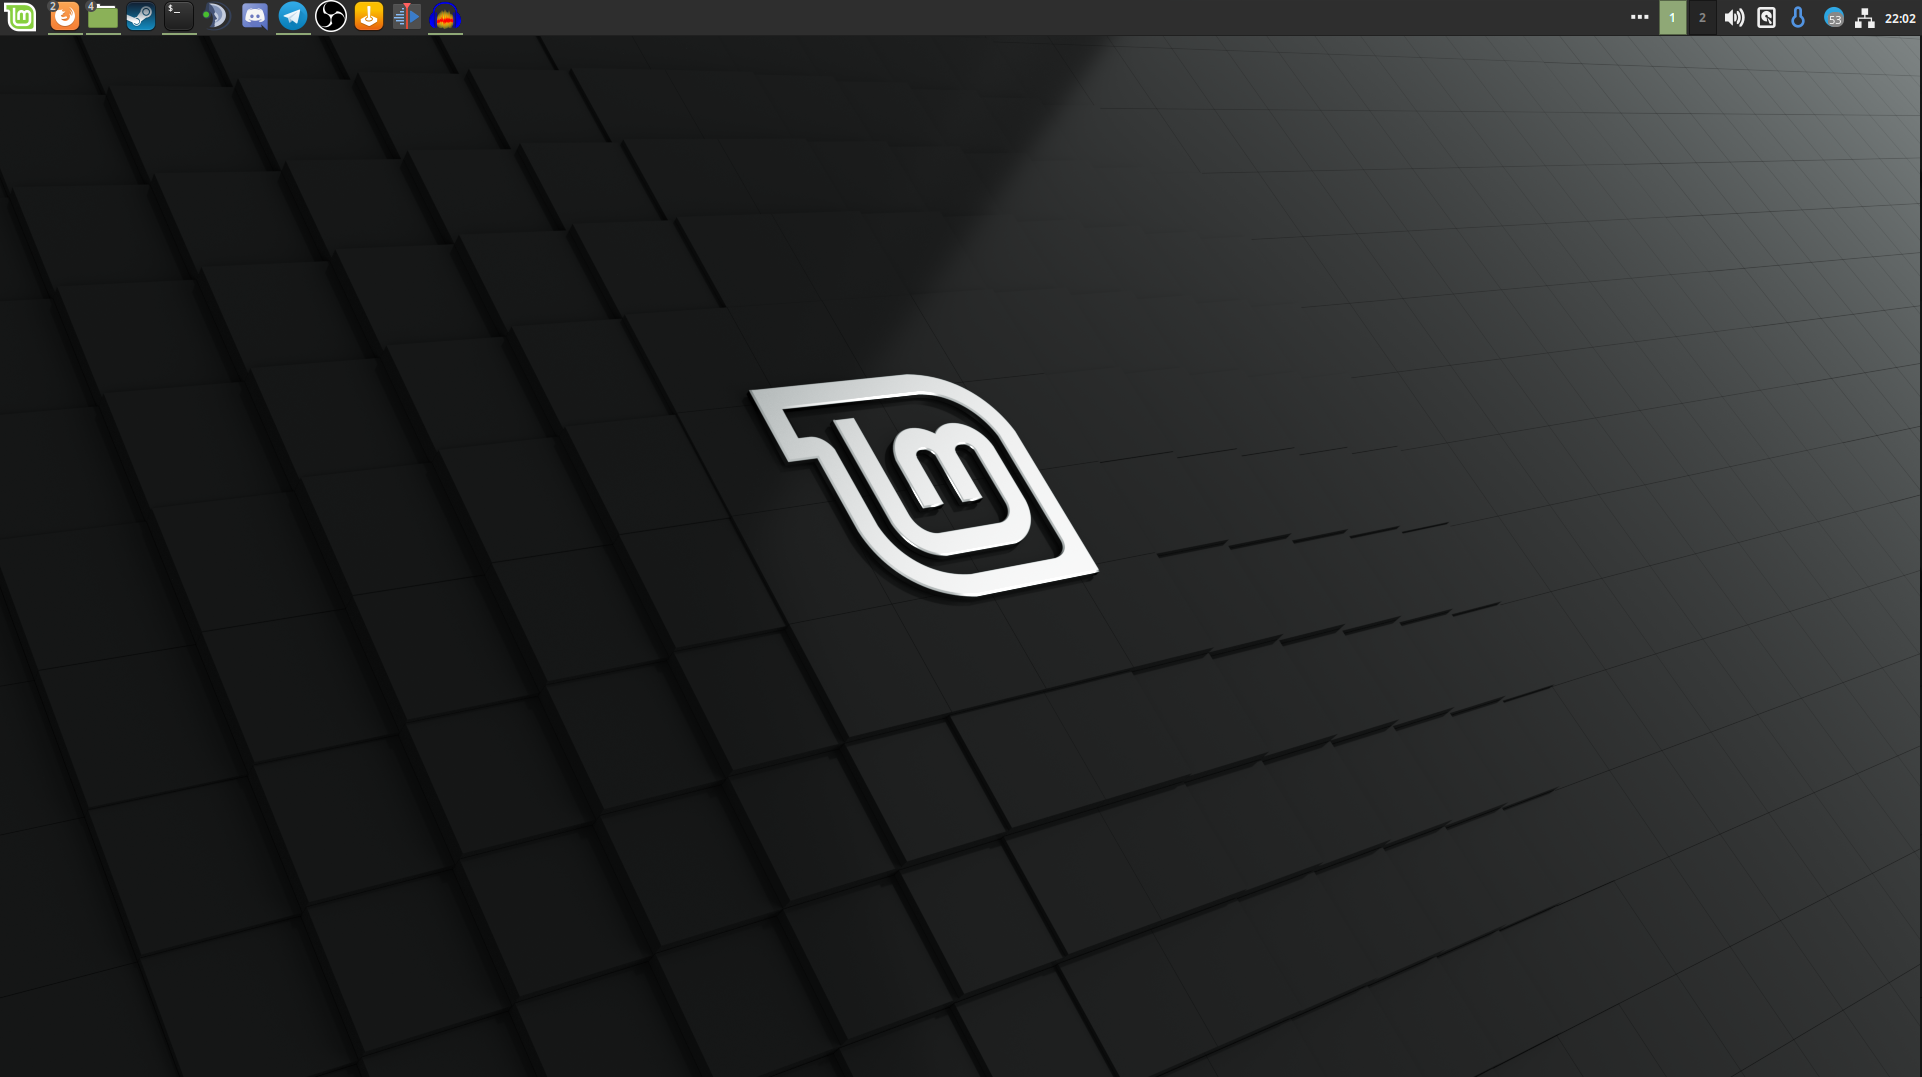
I spent several days over the course of a few weeks messing around in the virtual machine, looking at themes, making it look and feel a bit more like Windows, which sounds silly in itself. I’m moving away from Windows but sort of want it to look and feel like Windows. So I moved the panel to the top like I did on my Windows machine, pinned the icons to the panel in the order I had them in Windows, and added all my notification/networks/time & date on the right. As you can see from the screenshots below I got it close enough.
Windows 10
Linux Mint
If you want to follow along, at this stage the only thing you need to research on is:
What Desktop Environment suits you or feels best to you?
I would recommend Cinnamon from the Linux Mint team for a Windows 10 user or Pantheon from the Elementary OS team for a MacOS feel.
But try as many as you can until you find one you like.
Now I’m not saying, go and nuke your Windows install, I’m not even advocating you installing Linux, if Windows is working for you stay on Windows, what I am saying is get yourself a USB stick or downloading virtual box and having a play with something different, you never know, you might enjoy it.
Some questions to ask yourself before if you decide to go down this road.
What Base environment you want to use?
I would always urge new users to go towards an Ubuntu base as its largely supported and the community behind it is vast, I will list some popular distributions below.
LTS( long term support) or Rolling release ( latest and greatest-ish) ?
I would Recommend an LTS to begin with but to have the most up to date with all the bells and whistles a rolling release ( bare in mind not every distro offers rolling releases, and LTS cycles vary from distro to distro )
Here are some of the popular distributions:
Arch Based distros
- Arch Linux
- Manjaro
- Antergos
Debian Based
- Ubuntu
Ubuntu Based
- All the Official Ubuntu Flavours Xubuntu, Lubuntu, Kubuntu, Ubuntu Budgie, MATE etc
- Linux Mint
- Elementary OS
- PoP_OS!
RPM Based Distros - Fedora
Some great information on distributions can be found on Distrowatch.com . Click on a distribution name and it gives some information, like what base it is using, what desktop environment etc.
Now I have found the distro I think I’m going to use (Linux Mint – Cinnamon) so what next? Stay tuned for my next post where I step through this door, take the plunge and fully install the OS rather than testing in a virtual environment.